This year, Tu Bishvat, the Jewish New Year of the Trees, begins on the evening of Wednesday, January 27. While celebrating the first blossoming of trees in Israel might seem a bit out of place in wintry North America, this holiday is an excellent opportunity for young children to participate in fun activities that also teach them about trees.
Yes, coronavirus is still raging, and most of us are still cooped up at home. Fortunately, there are countless pandemic-friendly ideas for crafts that are fun and accessible for young families, all the while honoring this Jewish holiday. Here are 10 of our favorites.
1. Plant with your child.
You don’t even need dirt! All you need is a lima bean, a clear plastic cup, and a paper towel. Place the lima bean in the cup with the paper towel and wet the towel a little bit. Then keep a lima bean journal with your child: Every day have your child draw a picture of what is happening with the lima bean, and, if appropriate, write about it. Don’t have any lima beans sitting around? Here’s an alternative: Put popping corn on a damp paper towel in a Ziploc bag and then hang it in the sun. Like the lima bean, it will germinate, providing fodder for your child’s nature journal.
2. Create a paper collage tree.
Give your child different scraps of paper, such as magazines, junk mail, tissues, or construction paper. Rip the paper into different size strips (bonus: it’s a great activity to build fine motor skills). On a sheet of paper, help your child arrange the bits of paper and then glue them to create a tree. Don’t forget to explain to your child that paper comes from trees!
3. Paint a hand tree.
Cover your child’s underarm to the elbow with brown paint, and paint his/her palm green. Then press your child’s arm and hand on a large piece of paper and — tada! — you have a tree! Have your child draw birds and flowers on construction paper, cut them out and add them to the painting.
4. Adopt a tree.
Begin on Tu Bishvat. Have your child pick a tree near your house, photograph it with your child and give it a name, too. Let your child draw the tree with charcoal and save the drawing. Once a season, visit the tree and have your child draw a new picture on the same kind of paper. Make sure to discuss the changes you observe in the tree. When all four pictures are complete, frame them and display them as an art installation for your home.
5. Make a trail mix with fruits and nuts that grow on trees.
Create single-serve portions by allowing kids to count out ingredients — for example, five carob chips, eight dried apple slices, four almonds, and so on. You could even introduce a ten-frame sheet of paper to help your children count out and organize the treats.
6. Clean up a park.
Focusing on Tikkun Olam, i.e. taking care of and repairing the world, go outside with a trash bag and gloves, and do a park clean up with your child. It’s wonderful to teach your child to take care of spaces that you use and enjoy regularly.
7. Teach your child about recycling.
Tu Bishvat is a terrific time to make recycling bins for your house. Depending upon your child’s age, she can do the writing or draw a picture labeling each bin. You can teach her about sorting and classifying, which are good pre math skills to foster.
8. Use recyclables for multiple art activities.
It’s amazing what you can make with different size boxes, toilet paper tubes, bottle caps, and lots of tape. Try different challenges… one day the challenge could be “create a tree,” the other day it could be “make a car or truck.”
9. Make a light-catcher.
Sort beans of various types, then pour Elmer’s glue into a big flexible plastic lid from your recycling bin. Stick the beans into the glue, arranging them in a pattern to your liking. Make sure to poke a little hole into the disk when the glue is firm, but before it is truly hardened, so you can pull through a string. Once the disk is hardened, pop it out of the lid and hang it in a window to catch light.
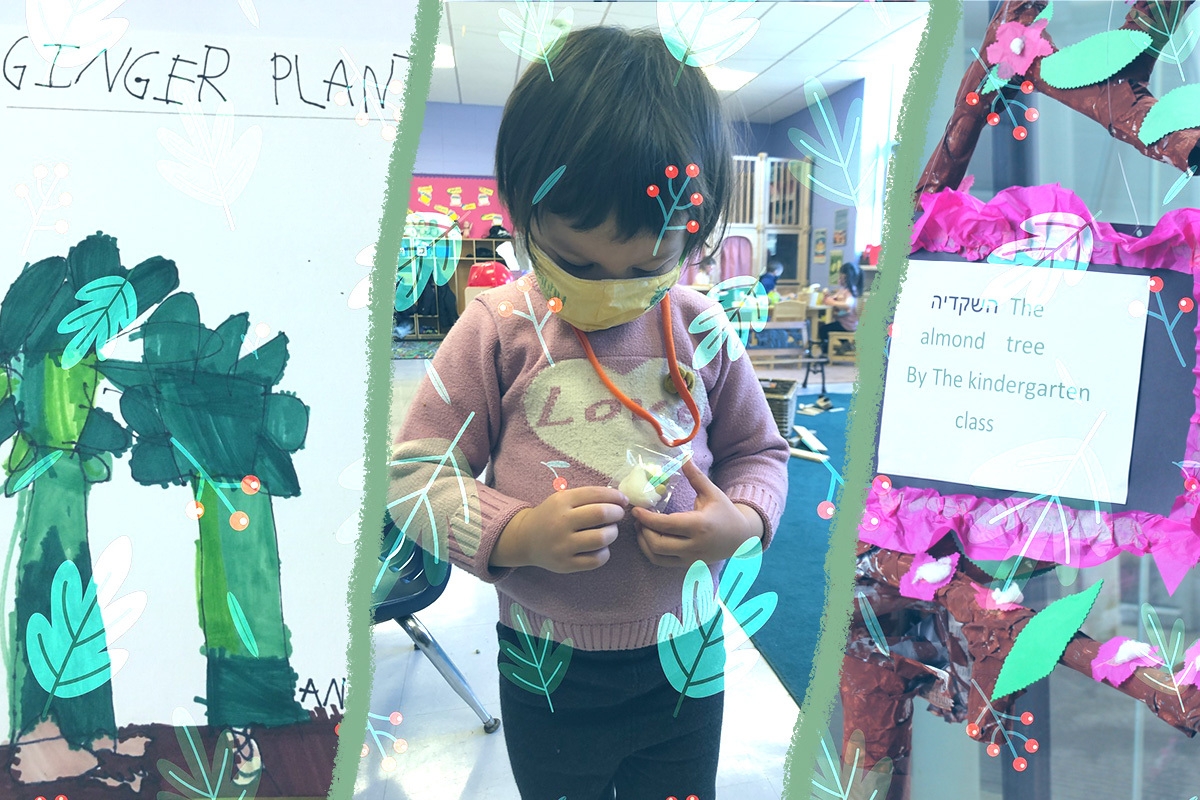
10. Make a living necklace.
Soak bean and pea seeds in water for 24 hours. Have ready small, sealable plastic bags (roughly 2″x2″) and cotton balls. Wet the cotton balls, add one to each bag and choose two or three seeds to put in. Seal each bag and add a hole at the top with a hole punch. String yarn through the hole to create a necklace or to hang it up and enjoy observing the sprouting process. Later, the sprouts may be transferred outdoors or to a pot.
Header image via Annette Gendler