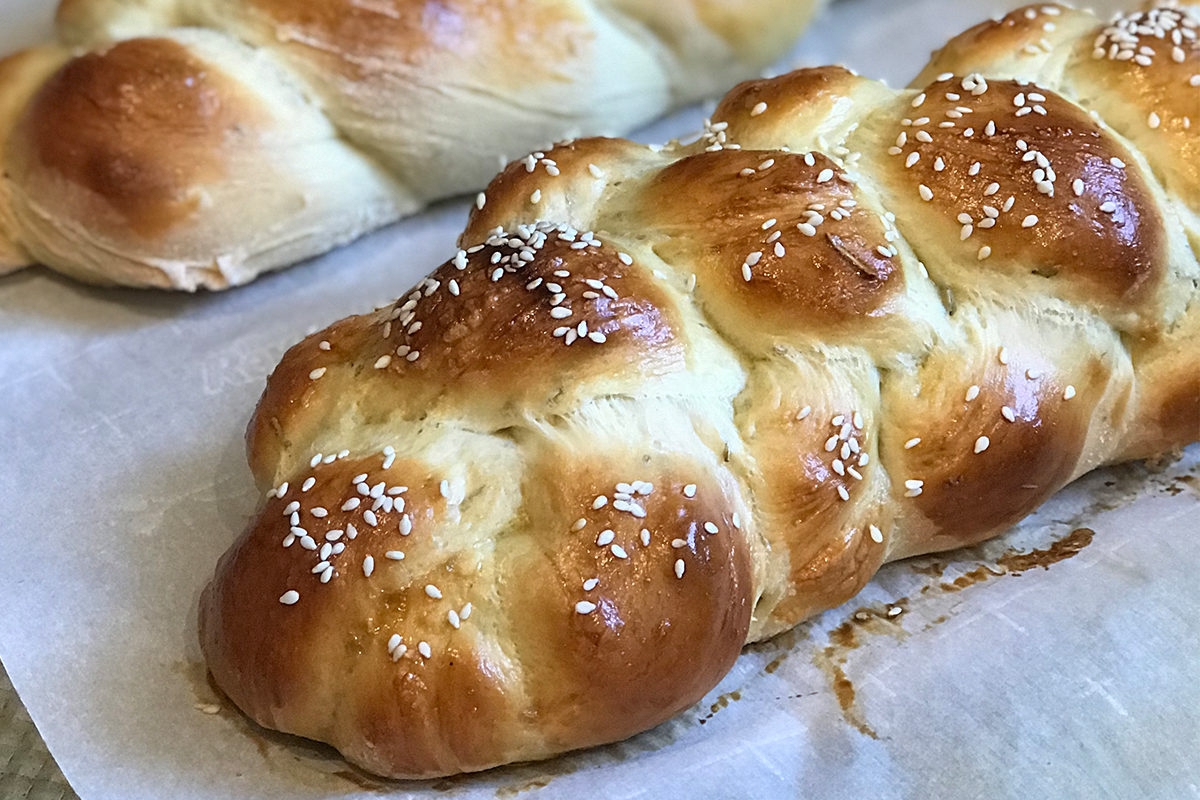
For so many people, myself included, baking challah each week is a sacred act. For some, it’s deeply spiritual; it’s a time to reflect, connect with their Jewishness, and take a breather from the week. For me, it’s about love, and how feeding my family is an act of love. And also, I just love baking bread and getting my hands into that dough.
But I am a working mom, and sometimes, things are just bonkers crazy busy with these kids and our busy lives. And by “sometimes,” I mean most of the time.
So, in the past few years, I have come up with a couple of strategies so I can continue to keep my shit together and find time to bake fresh challah for my family most weeks. These hacks are super simple: I either 1) I freeze my dough in big batches, or 2) I make the dough the night before I am going to bake it.
Now, I know some people love to bake big batches of challah and freeze the actual baked bread. I understand the appeal, and if that works for you, you do you! But, personally, I don’t think challah ever tastes as good once it is frozen and defrosted.
So, if you’d like to serve your family fresh challah this Shabbat — and you already know there’s no way in hell you’ll have the time to make the dough on Friday — here’s a step-by-step guide to using these challah dough hacks:
How to freeze challah dough in advance:
First, portion your dough into approximately 1 lb piece. (A doubled batch of this recipe will produce approximately four large challahs when you portion them this way.) Spray a gallon sized Ziploc bag with cooking spray and put each put the dough inside. (Note: If you’re freezing more than one portion of dough, use a separate bag for each!) Take as much air out of the bag as possible, seal it, and pop into the freezer. The dough can be stored this way for 2 to 3 months.
When you’re ready for some fresh challah, take a bag of frozen dough out of the freezer and put it into the fridge Friday morning to defrost. Here’s what I do: When I get home from work, I preheat my oven, take the dough out of the fridge and let it come to room temperature, which usually takes about 30 to 60 minutes. (Of course, if you have a babysitter or partner at home, you can have them preheat the oven and take the dough out of the fridge for you to save time — especially if dinner is early at your house!)
Alternatively, if you work from home, do this in between sending annoying emails — just be sure to give the dough some time to reach room temperature and rise a bit more. (If you bake very cold dough, the challah may be doughy or dense in the middle.)
Next, braid the dough, and don’t forget to let it do its second rise for 20 to 30 minutes before baking.
How to refrigerate challah dough overnight:
Make your dough per usual. Instead of letting it rise at room temperature on the counter, place the dough in a large bowl and cover with plastic wrap, or place it in a large, covered container. Make sure the dough is in a large enough bowl or container and has plenty of room to rise, because it will.
Refrigerate it overnight. When ready to bake, remove the dough from the fridge and let it come to room temperature. Braid it and let it do its second rise for 20 to 30 minutes before putting it in the oven.
Finally, if you don’t already have a favorite challah recipe, here are some of mine:
Claudia Roden’s Perfect Basic Challah
And there you have it, stress-free homemade challah to kick your weekend off right!


